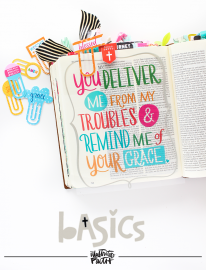
I have been loving the Bloom devotional with Stephanie Ackerman and I wanted to share a couple tutorials and how I’ve been using the kit in my Bible. First, I have a little funny confession to make: I was supposed to go on a scrapbooking retreat last Thursday and was going to leave after lunch but my USPS tracking said that my package was going to arrive that day. I totally waited for the mail to arrive before I headed on the road. I’m so happy I did because it was a nice break in my work projects to spend some time in my Bible with the devotional and stamps. Yes, I brought work with me to the scrapbooking retreat and totally didn’t get any scrapbooking done, LOL.
First, thing I did when I arrived was pull out the stamps and devotional and a few supplies. I thought a good way to keep the entries cohesive and be able to know that it came from the devotional, was to pull together a little supplies kit and use those paint colors and washi tape. With the theme of “bloom” and it being spring, I went with a very spring-ish color scheme and I’m in LOVE with it.
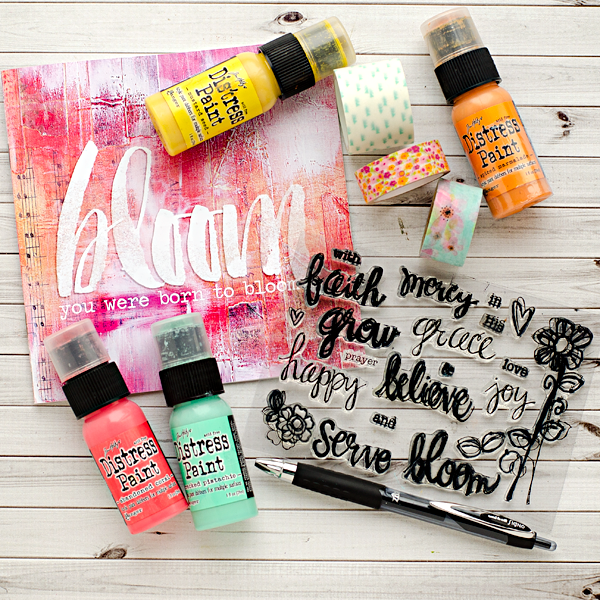
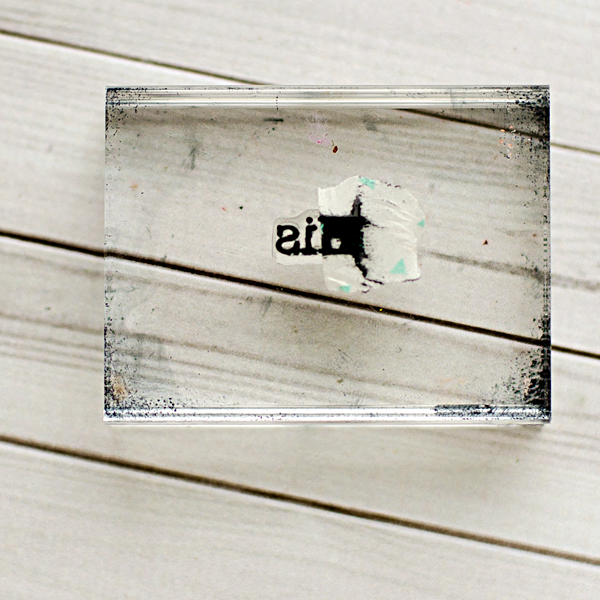
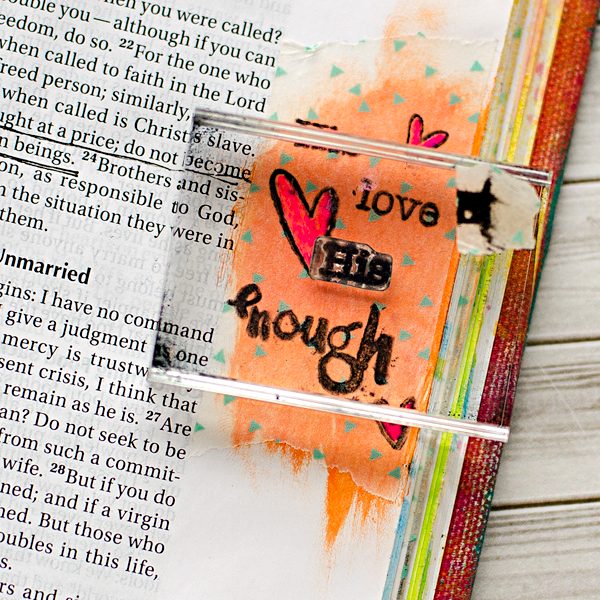
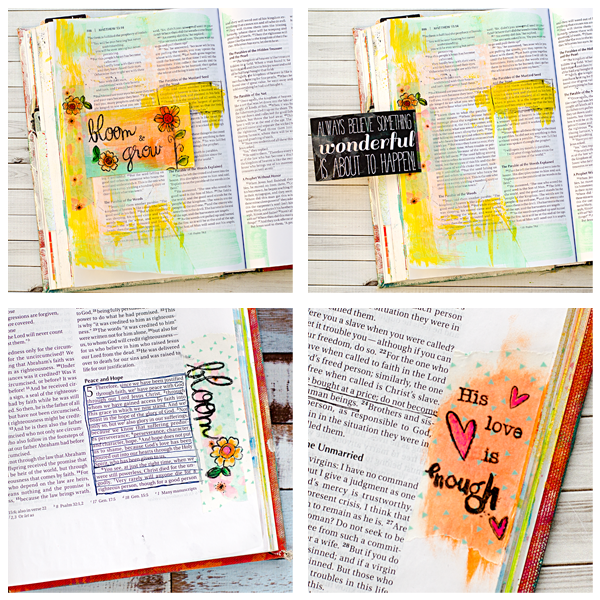
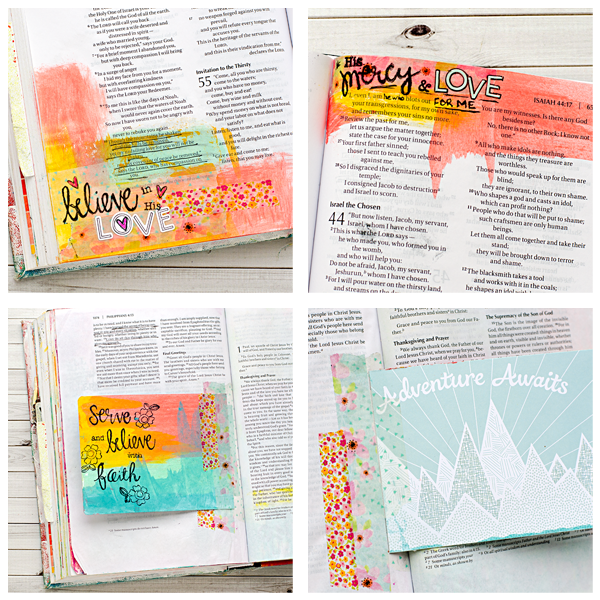
I jumped right in and had so much fun playing with paints and stamping. I love that the devotional has lines for journaling and writing down your thoughts. I found some scrapbook paper with some fun quotes and decided the first day I would add a tip-in. Day 2 I just used washi tape and stamped on top of it. Day 3 I knew I wanted to say, “His love is enough”. I remembered I had the word “enough” from the “You Are Enough, Made Perfectly In Him” kit, but didn’t have an “is” stamp. I knew that I could use the “His” stamp and mask off the “H”, so I stamped the whole phrase and hearts and left out the “is”
- STEP ONE: grab a small piece of washi tape to mask off the “H”
- STEP TWO: ink up your stamp, then remove the washi tape mask
- STEP THREE: stamp where you want it stamped (note: quickly and lightly, especially on the slick washi tape, but also to prevent bleeding through to the other side of your Bible paper)
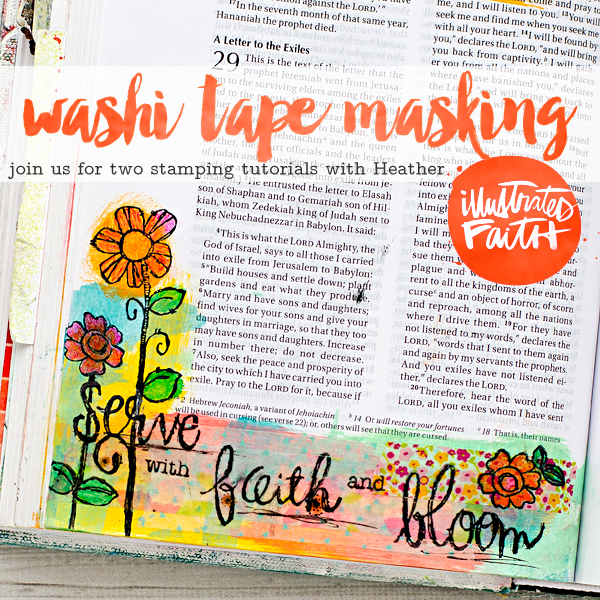
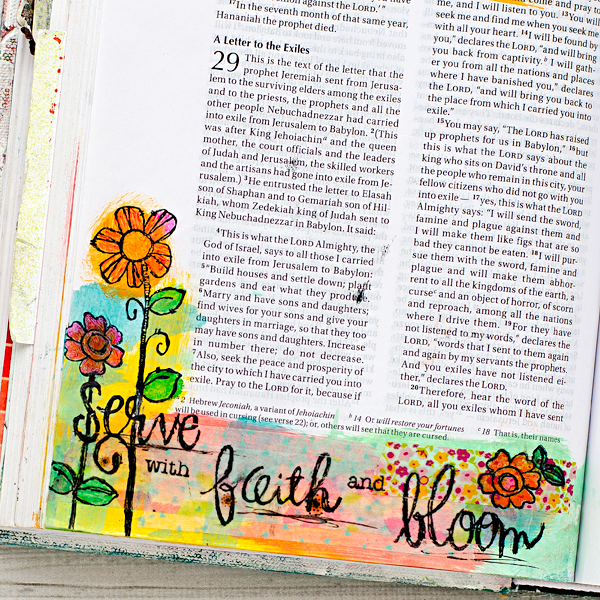
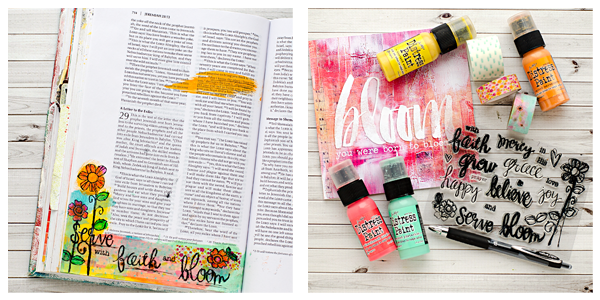
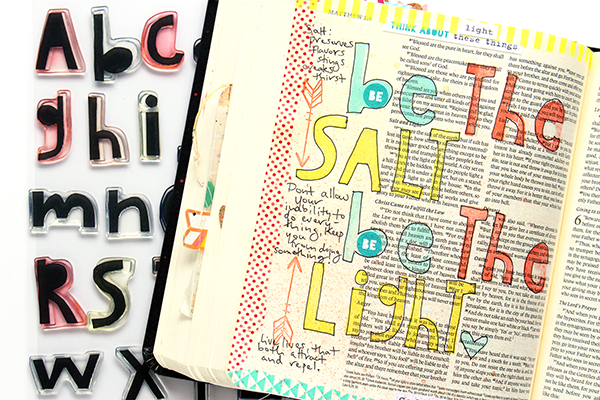
Days 4 through 6, I just continued to use the same paint colors and washi tape. I stayed mostly on the Bible pages but added in a journaling card on Day 6. I just thought the “adventure awaits” was so perfect for the verse and devotional. When I got to day 7 I really wanted to add some flowers to show blooming. I wanted to add the larger flower from the kit, but wanted to be sure I could read the stamped words. Washi tape isn’t permanently sticky so it’s a great option for using as a mask.
- STEP ONE: use washi tape to cover up the part you want masked off.
- STEP TWO: stamp over the washi taped area… as you can see there was a leaf right in the middle of the word “serve”
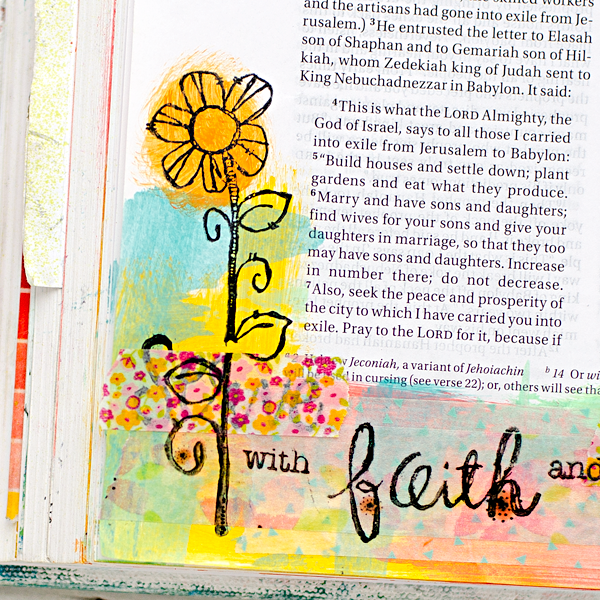
- STEP THREE: remove washi tape
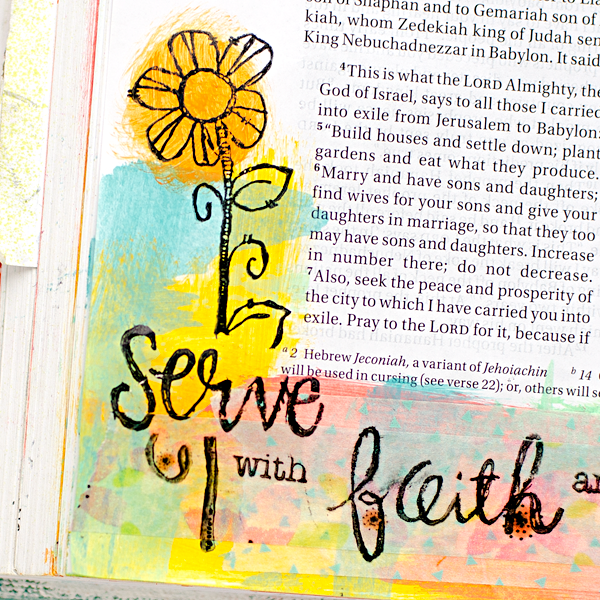
- STEP FOUR: using your pen, fill in the space to connect the stamp back together again.
ILLUSTRATED FAITH IS A PARTICIPANT IN THE AMAZON SERVICES LLC ASSOCIATES PROGRAM, AN AFFILIATE ADVERTISING PROGRAM DESIGNED TO PROVIDE A MEANS FOR SITES TO EARN ADVERTISING FEES BY ADVERTISING AND LINKING TO AMAZON.COM.
Illustrated Faith Bloom Kit w/ Stephanie Ackerman | NIV Note-Taker’s Bible


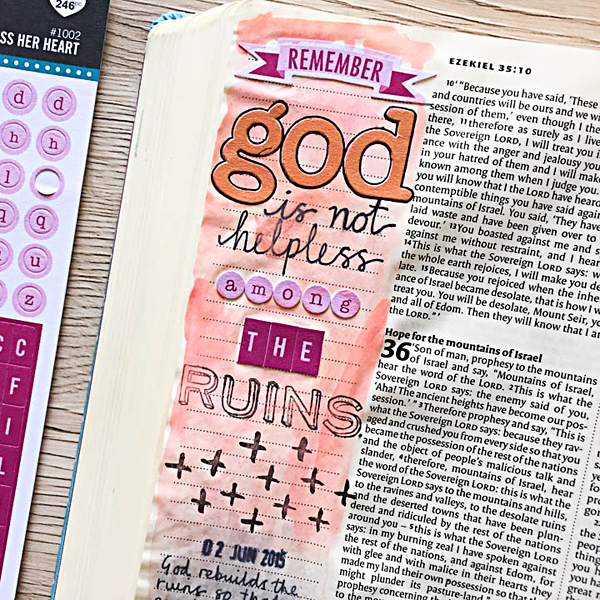
Here’s all of my Week One pages… I’m looking forward to the next week and digging in and blooming some more. I just adore Stephanie and how real and honest she is with us. I totally relate to so much of what she’s shared with us.
– Heather


