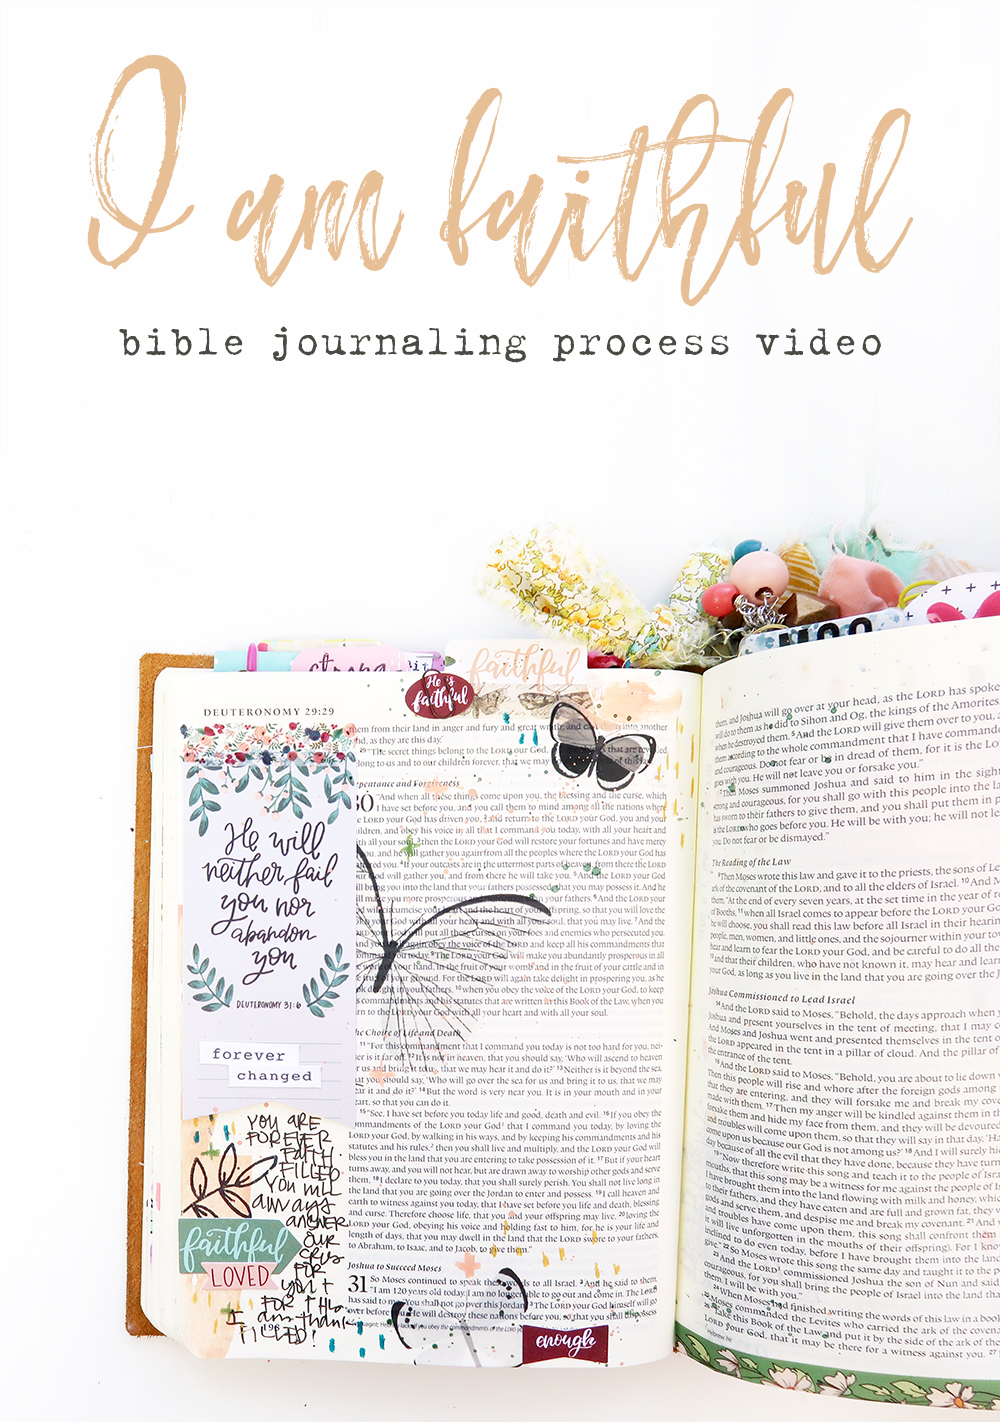
It’s going to be due to my scrapbooking and cardmaking background but I tend to approach my Bible Journaling in a very similar fashion. I like to use the same supplies, and create dimensional and interactional pieces just like I would on a layout or card. Doing what comes natural to me I one day accidentally discovered this technique of adding Pop Up elements on my spreads. I was intending to create embellishments that flipped over so you could read what was underneath, but they seemed to want to stand up of their own accord! Kinda fun right, so I thought I’d show you how easy this is to make.
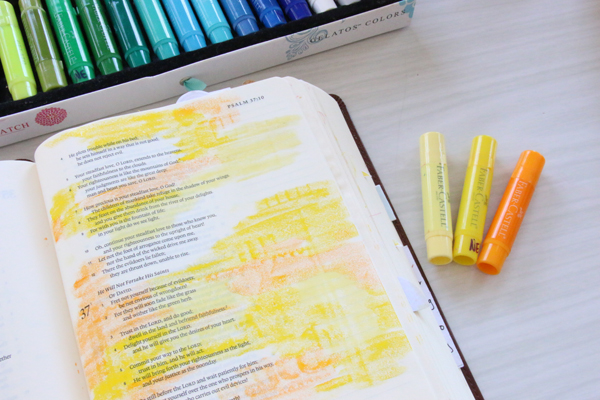
Lets start at the beginning of this page though and get some basic colour down. Today I’m using Gelatos and I start scribbling some colour onto my page in a range of similar tones.
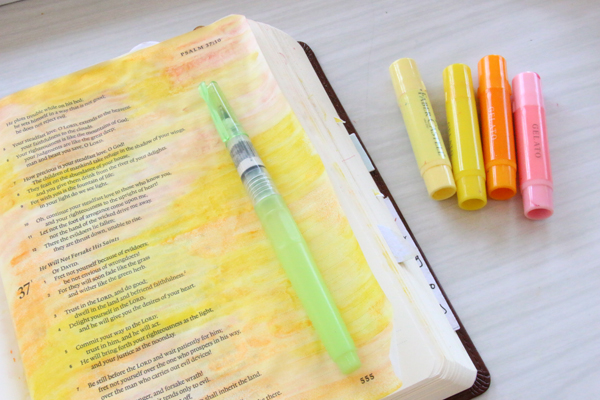
When I finish I use a waterbrush to add only the smallest touches of water to cause the Gelatos to ‘dissolve’ and start blending into one another. You can see how little water I need because the page has hardly buckled or warped at all.

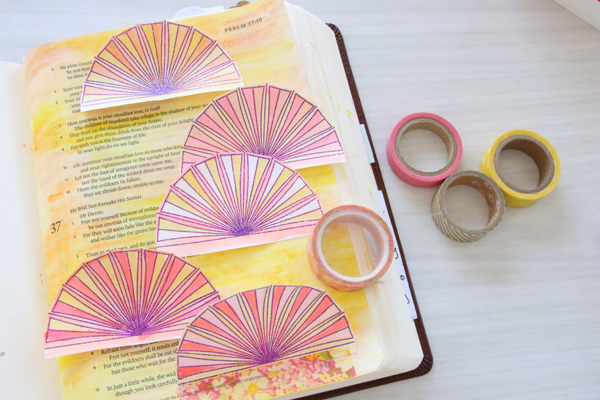
Now the pop up element I want to use today is this image of a sunrise (sunset?) because the verse I’m working with is Psalm 37: 5-6 which reads, “Commit your way to the Lord; trust in him and he will act. He will bring forth your righteousness as the light, and your justice as the noonday.” How awesome is that promise? I stamp the sun with Versamark ink and emboss it with purple embossing powder. I’m a big fan of repetition so I stamp it a few more times for good measure.
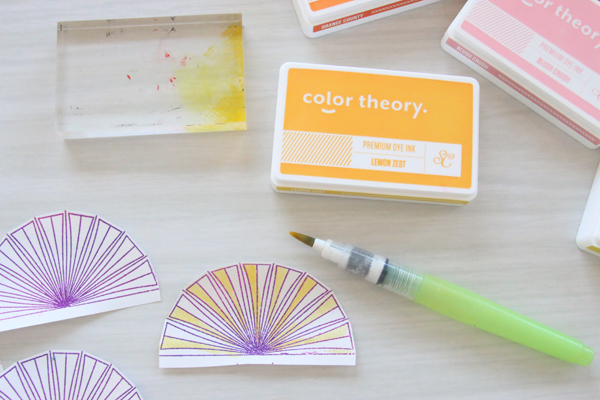
When I cut the images out, I make sure to leave an extra strip of paper down the bottom because that’s where I’m going to adhere it to my page. To colour in the sunrays I use my Studio Calico Color Theory Ink Pads and a waterbrush. I first tap my ink pad face down onto an acrylic block so some colour is transferred onto it, then use my water brush to create what effectively becomes a water paint.
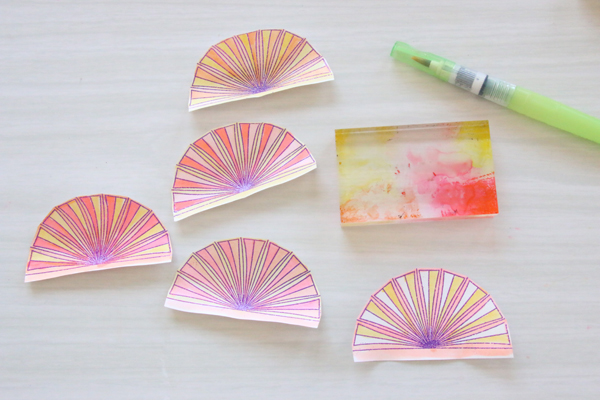
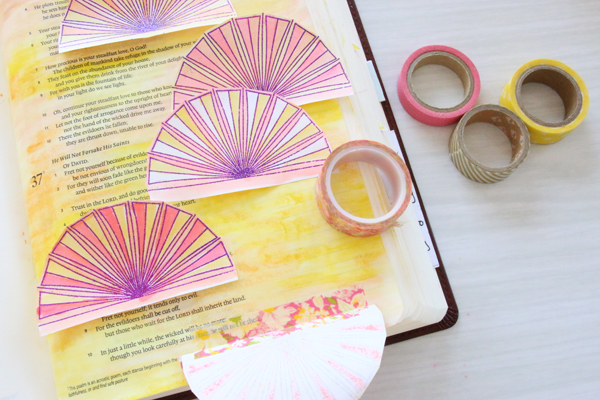
I repeat the same colouring technique with a few more colours until all my suns are done. The acrylic block just wipes clean with a tissue, so I find this technique to be very quite mess-free.
Now the fun part! I scatter the suns over my page being careful to place them in gaps between lines or spaces in the margins because I know I’m still going to want to read all the words when I’m done. I use washi tape across the bottom of the first one to adhere it in place. I’ve been careful to choose a variety of washi tapes that are light in colour and transparent enough that if they cover the words you can still read right through them.
Next, fold the sun over and place another strip of tape along the back as well. This is the whole key to why they stand up. If you skipped this step then you’ll have created some lovely flaps, but they won’t pop up!
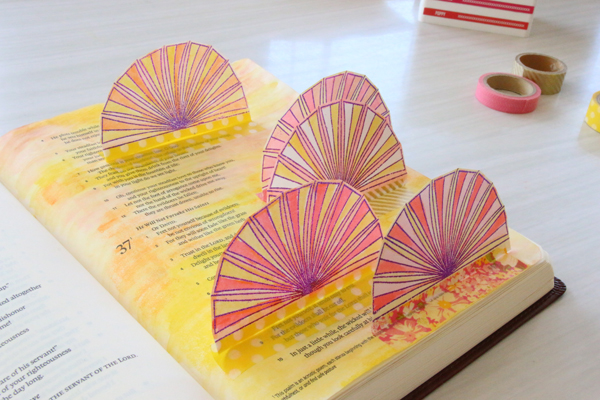
Do the same with all the other images and you’ve now created your first Pop-Up page in your bible!!
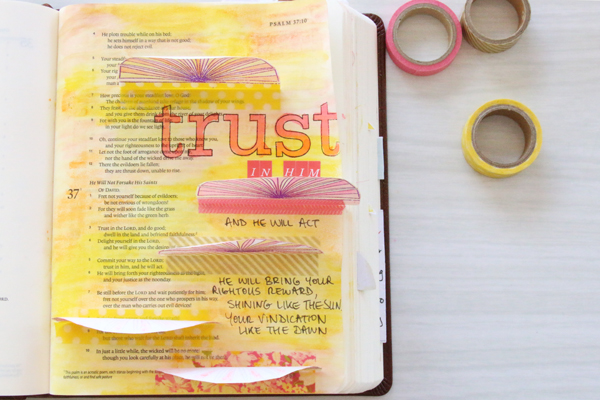
Once I know where they’re all going to sit, I fill in the gaps with my usual typography and journaling that it my style. These images are quite big and it hasn’t left a lot of room for other ‘stuff’, but you could just as easily create a similar page with smaller images which will allow you to write much more. You can see other examples on my Instagram account if you’re interested.
Anyway, I think this is just a bit of fun and something a bit different to include in your bible for when you’re feeling a bit adventurous. Link me up if you give this a go!!
– Natalie


